These are the ramblings of a self-described wheat, grain and gluten-free “gourmet girl” that loves to cook and eat good food. I love creating and sharing recipes and photographing “beautiful food”. In July 2012, I eliminated wheat, grains and added sugar from my diet and rediscovered real, whole fresh foods again and effortlessly lost 65+ pounds. Join me in my wheat, grain and gluten-free journey. See how easy it is to enjoy grain free gourmet, one meal at a time! Welcome to my blog. Enjoy!
Thursday, July 31, 2014
Wild Salmon Poached in White Wine w/ Creamy Lemon Caper Sauce
This evening I made salmon for dinner. I had a large wild sockeye salmon fillet that was a little over one pound. I removed the skin and cut in in half. I decided to poach it in white wine (Chardonnay) along with some herbs. I added 3/4 to 1 cup of Chardonnay in a large skillet (about 1/4" deep in the bottom of the pan) along with some sprigs of fresh parsley, dill and chives and heated until it was simmering. I placed the lightly salted salmon into the skillet; covered it and simmered it for about 5 to 6 minutes and then set it aside. In a separate sauce pan, I heated a couple tablespoons of Kerrygold's Garlic & Herb Butter until melted and beginning to sizzle. I squeezed the juice from half of a lemon into the pan along with the finely grated zest from one lemon and whisked it until blended. I added 2 to 3 tablespoons of heavy cream and whisked until creamy and then stirred in a generous tablespoon of capers and brought the sauce to a gentle simmer, whisking until creamy. I seasoned it with a pinch of sea salt. I served the poached salmon topped with the sauce along with steamed and buttered fresh green beans. It was simple, fresh and delicious. I snapped a few photos for you to see below. Enjoy!
Wednesday, July 30, 2014
Grilled Burgers Topped w/ Pepper Jack & Homegrown Tomatoes and Easy Coleslaw
This evening I debated between making grilled burgers or wild sockeye salmon for dinner. The burgers one! It was a beautiful bright and sunny day here today with temps in the upper 50s this morning. It was unseasonably cool and didn't get much above 80. I'm definitely not complaining!
It was a beautiful day to grill so I made quick and simple grilled burgers. I added some diced onion to mine. I served the burgers on my grain-free Sesame Seed Buns topped with a thick slice of Cabot Pepper Jack Cheese and a big thick slice of fresh tomatoes my neighbor brought over from her garden. The tomatoes are so juicy that you have juice running down your wrists when you eat them...it's a good kind of messy! I served our burgers with a side of my Easy Coleslaw and a little dill pickle. It was a perfect, quick weeknight meal for a beautiful summer evening. I snapped a few photos for you to see below. Eating grain free is really so simple and enjoyable once you get into the rhythm of it. There is never any reason to ever feel deprived...I know I don't. Enjoy!
Tuesday, July 29, 2014
One-Bowl Chocolate Chip Cookies & Southwestern Style Caprese Salad
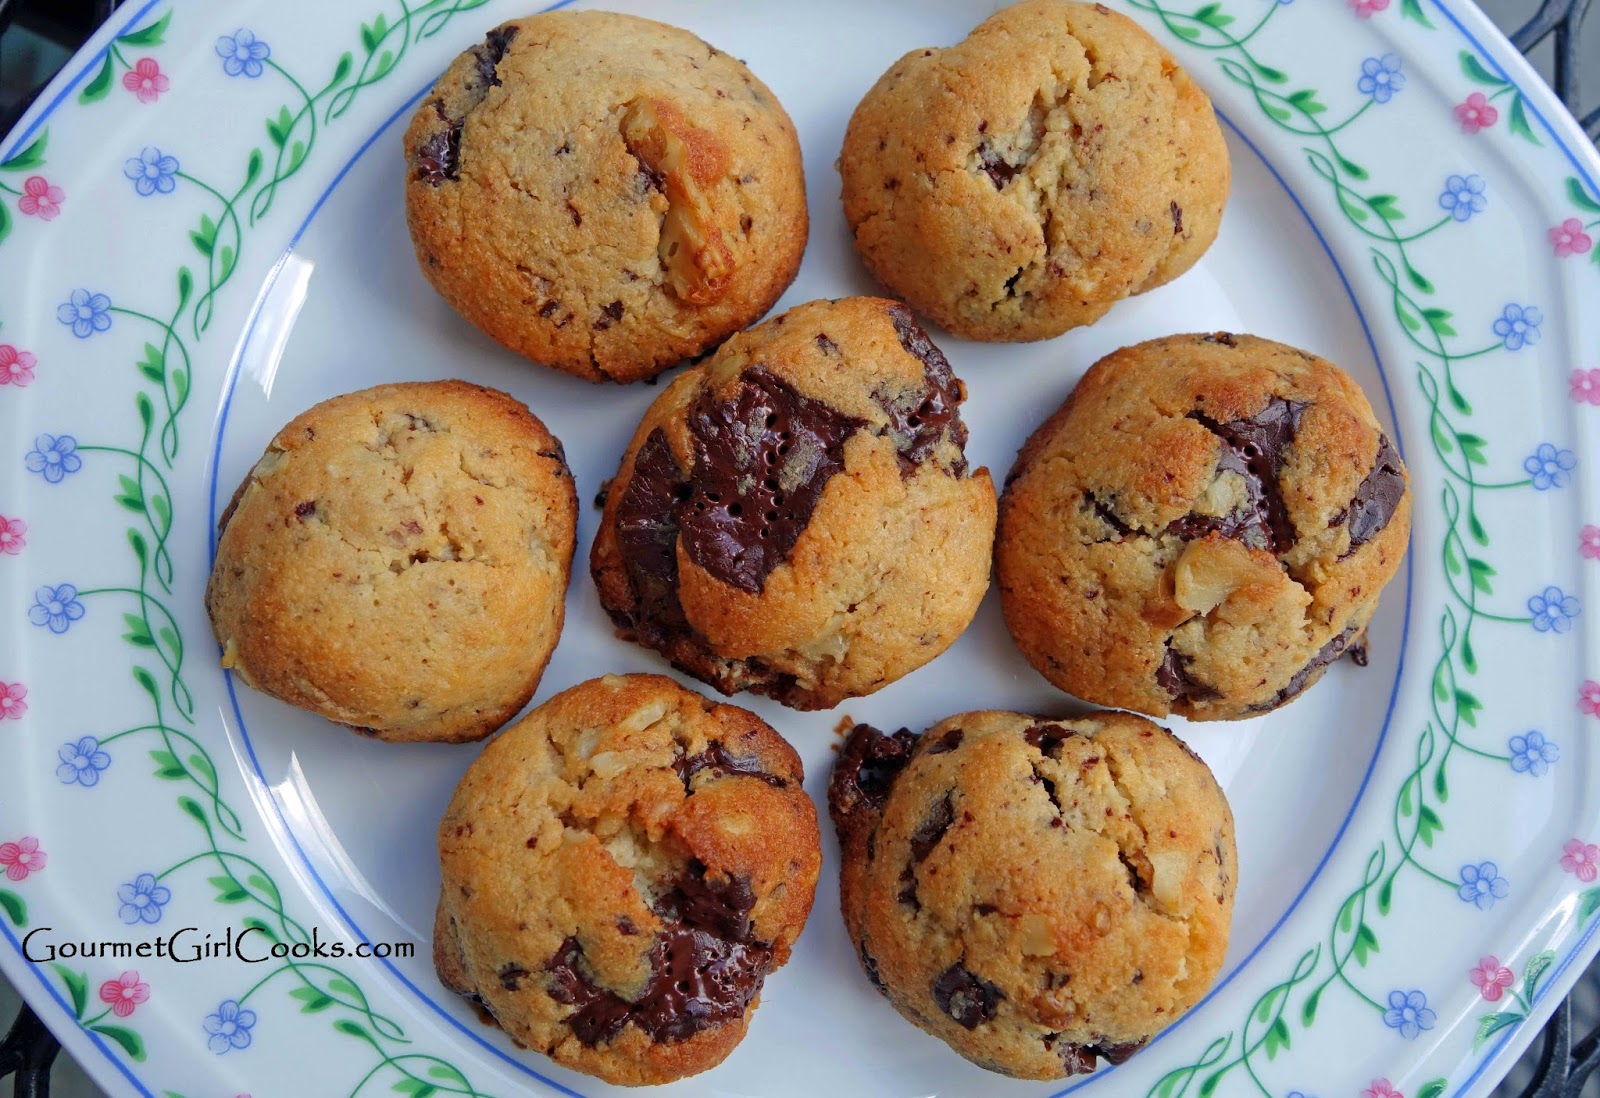
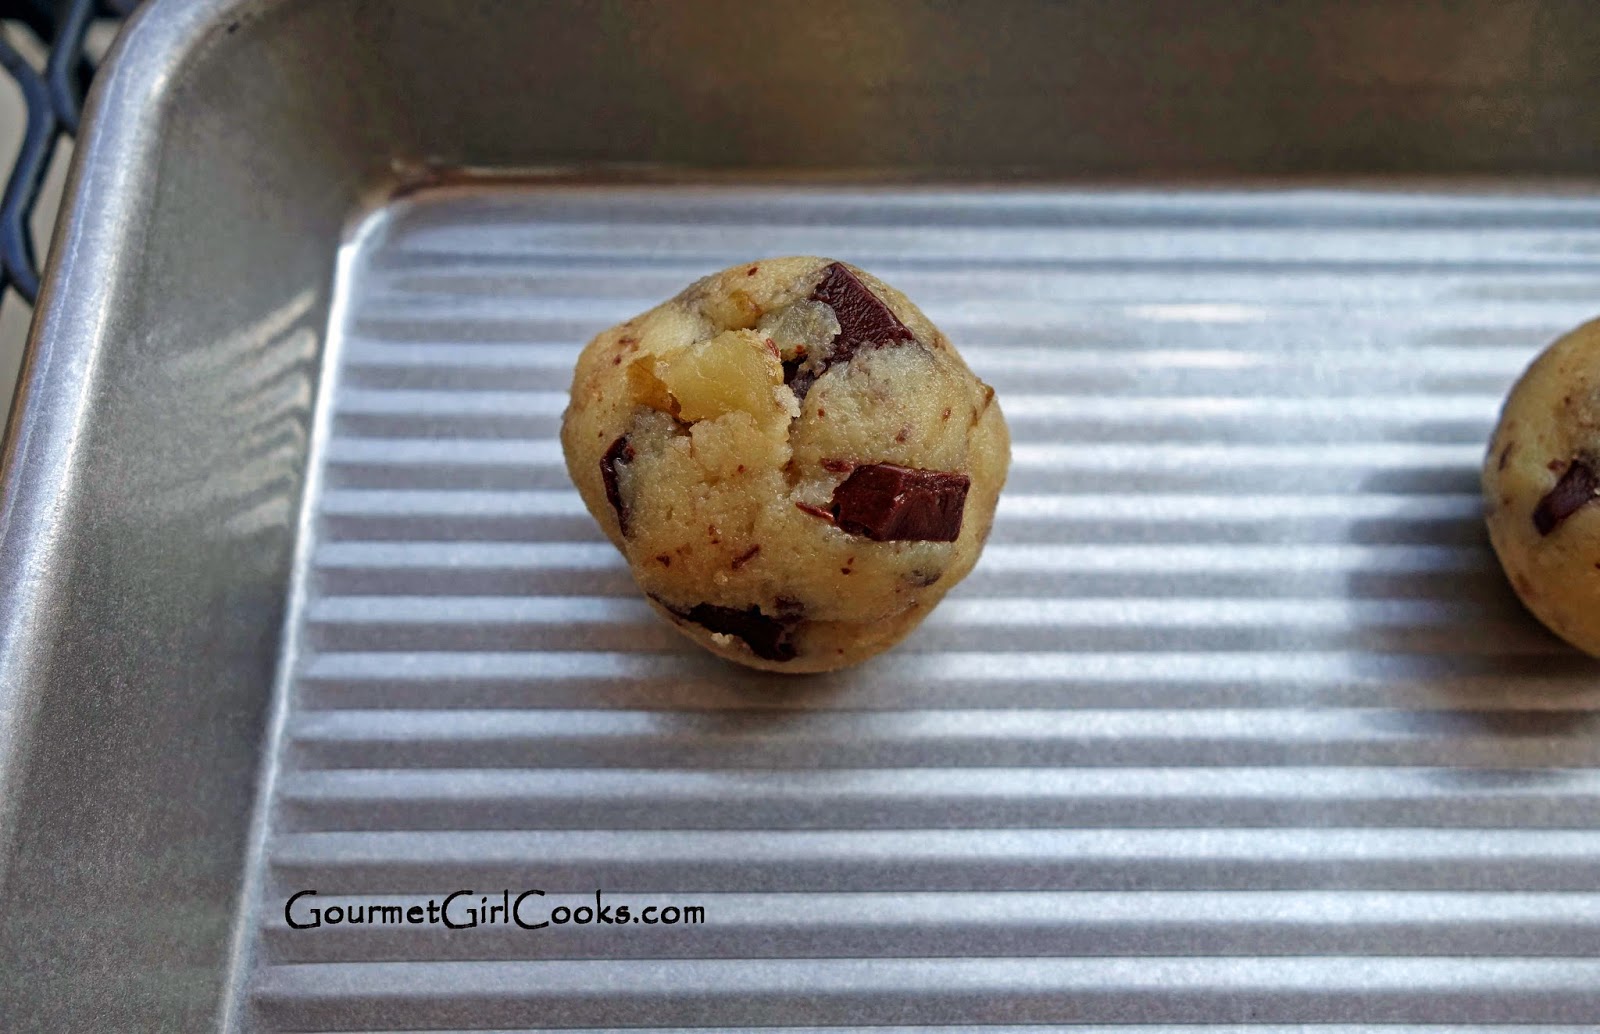
This evening I baked some Chocolate Chip Cookies when I got home. I actually made the cookie dough last night and refrigerated it. It was ready to just scoop and bake when I got home. I love this one-bowl cookie recipe. It makes 24 regular sized cookies or 36 small cookies. I decided to make smaller cookies this time by using my little 1 tablespoon retractable scoop. I still have enough dough leftover to make a fresh batch of cookies whenever I want to over the next week or so. These cookies are so easy to make and because they use only one bowl, clean-up is easy too. After they were finished baking, I decided to try something different. I wanted to see if I could slightly crisp them without burning them. You need to be careful when baking with almond flour because it is easier to burn than regular flour. So, after they baked for the usual 15 to 18 minutes...I turned off the oven and let them stay in the hot oven for another 5 or 6 minutes until they were dark golden brown. I let them cool before trying them. The exterior was crispier and the inside was still nice and tender. It was like having a "combo cookie!"
I wasn't very hungry for dinner this evening since I ate a pulled beef sandwich for lunch. Later on in the evening, I decided to have a simple "tomato and cheese sandwich" using some fresh tomatoes one of my sweet neighbors brought over to us last night. Unfortunately many of my tomatoes seem to have become the food supply for an annoying little chipmunk that has decided we planted them just for him!!! What he doesn't eat, he leaves behind after taking a little bite out of them and tossing them on the patio.
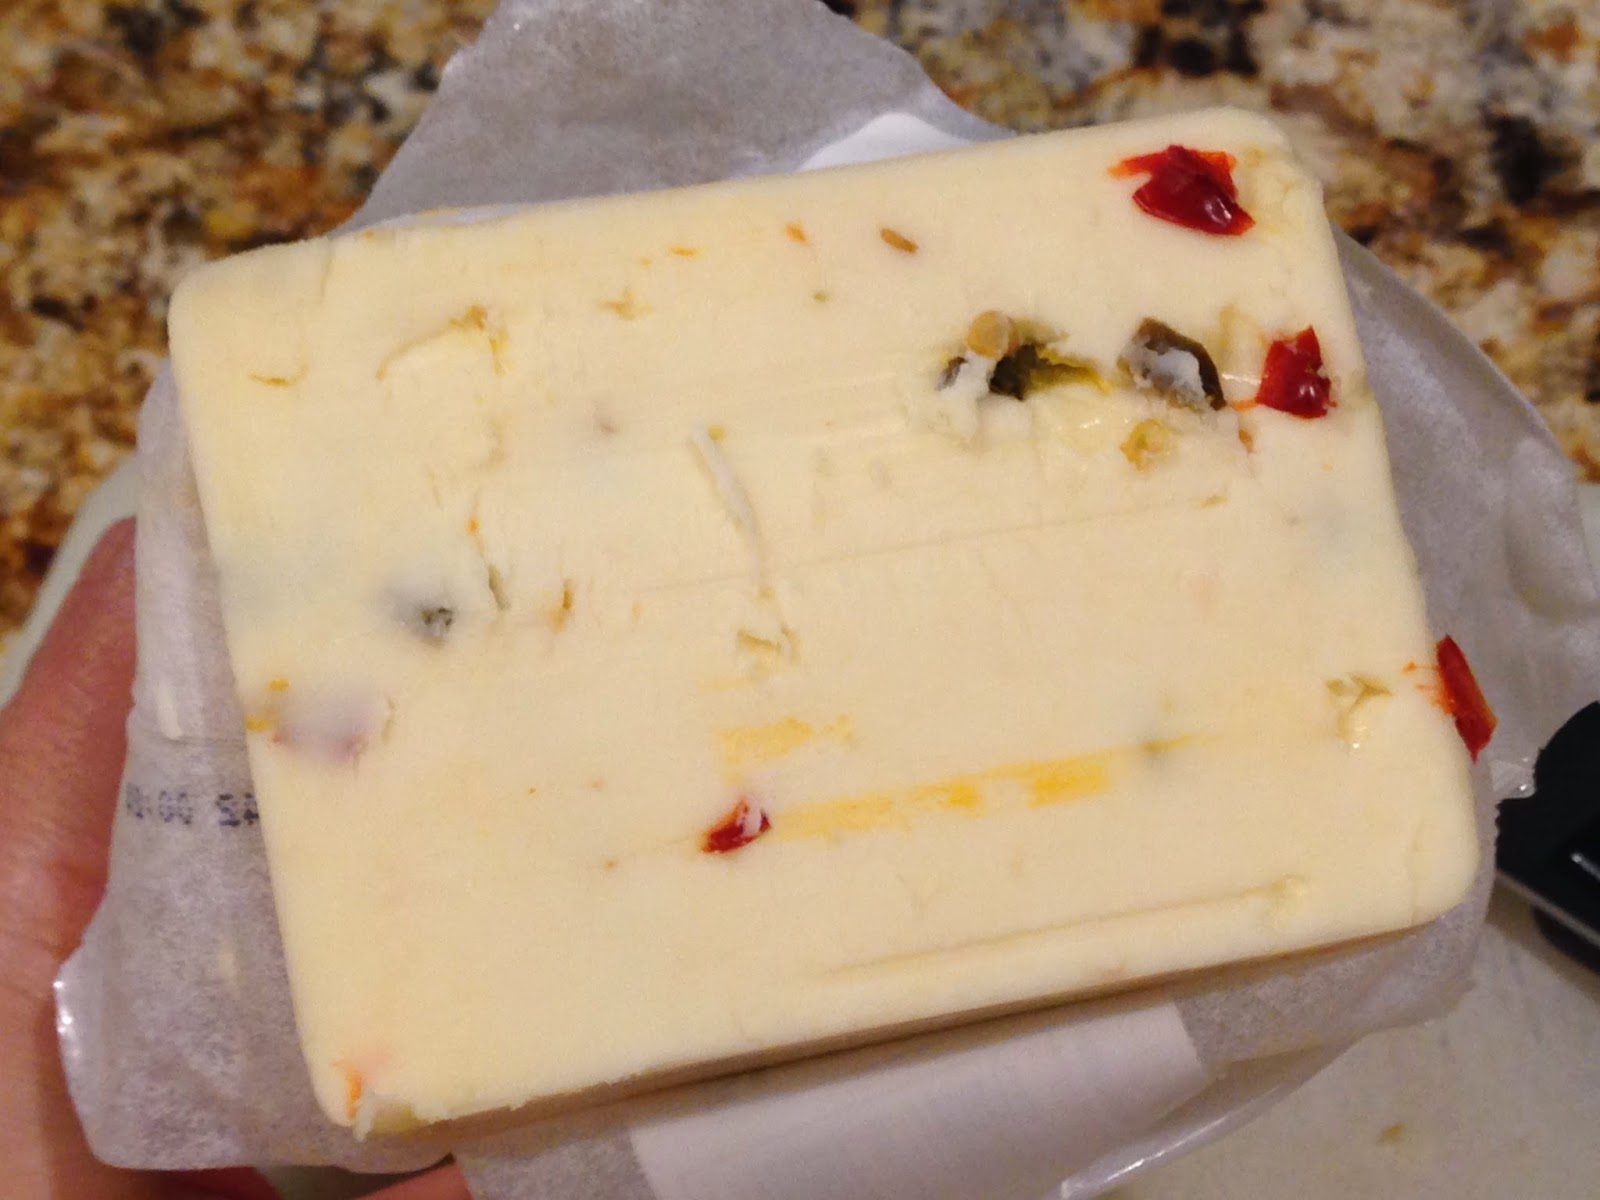
Now, back to my dinner...as I began slicing the big beautiful ripe tomato, I decided not to bury it in between 2 pieces of bread. I remembered that I had a big block of Cabot Pepper Jack Cheese in the fridge that I had picked up at Costco. I sliced up some cheese and decided to make a "Southwestern Style Caprese Salad" instead! I layered the sliced tomatoes and spicy cheese in a stack and picked it up with my hands and ate it! LOL How is that for a mental picture? Was it messy....YES! Was it delicious....YOU BET!!! The Cabot Pepper Jack Cheese is so different than the sliced pepper jack cheese you buy in the store. This cheese is so creamy and smooth and it's loaded with big pieces of hot peppers. It was awesome and I will definitely keep Southwestern Style Caprese Salad on my list of favorite ways to enjoy garden ripe tomatoes (but next time I'll drizzle it with avocado oil and eat it with a fork and knife). I snapped a few photos of my dinner below. I've also included photos of the Chocolate Chip Cookies that I had for dessert (or to be honest...that I had as an appetizer this evening)! I hope you enjoy these "one bowl beauties." ;-) I've also included the recipe. Enjoy!
Monday, July 28, 2014
Pulled Beef & Slaw Sandwich...Beef Piled High on a Sesame Seed Bun Topped w/ Pepper Jack Cheese & Slaw
It was a hot day here today. Yesterday our kitchen backsplash was installed. The installer worked for over 11 hours...literally from morning till night. I'm happy with how it turned out and all that's left is a little bit of painting and our kitchen renovation project will be done.
For the last couple of weeks here, there's been an ad running on television from a place called "Firehouse Subs" where they are promoting their new "hot sandwich" that is essentially pulled pork piled on a sandwich bun and topped with a slice of pepper jack cheese and then a mound of coleslaw. For whatever reason, that particular sandwich caught my eye and I've been thinking about recreating it ever since I first saw the ad.
A couple of days ago, I made my Slow Cooker Boneless Beef Chuck Short Ribs for dinner. We had plenty of leftovers that I usually like to shred and make sandwiches with. Today, I had one of those "light bulb" moments. I realized that my "dream sandwich" was now very easily within my grasp! LOL
I decided to use the leftover beef to recreate that sandwich instead of using pulled pork. I simply shredded the leftover beef ribs and placed them in a saucepan with about 1/4 cup of the juices they were cooked in. I added a couple squirts of "no HFCS" ketchup (about 2 tablespoons) and a few dashes of ground chipotle pepper and let it simmer to cook out most of the juices, but leave enough to keep it moist and concentrate the flavors.
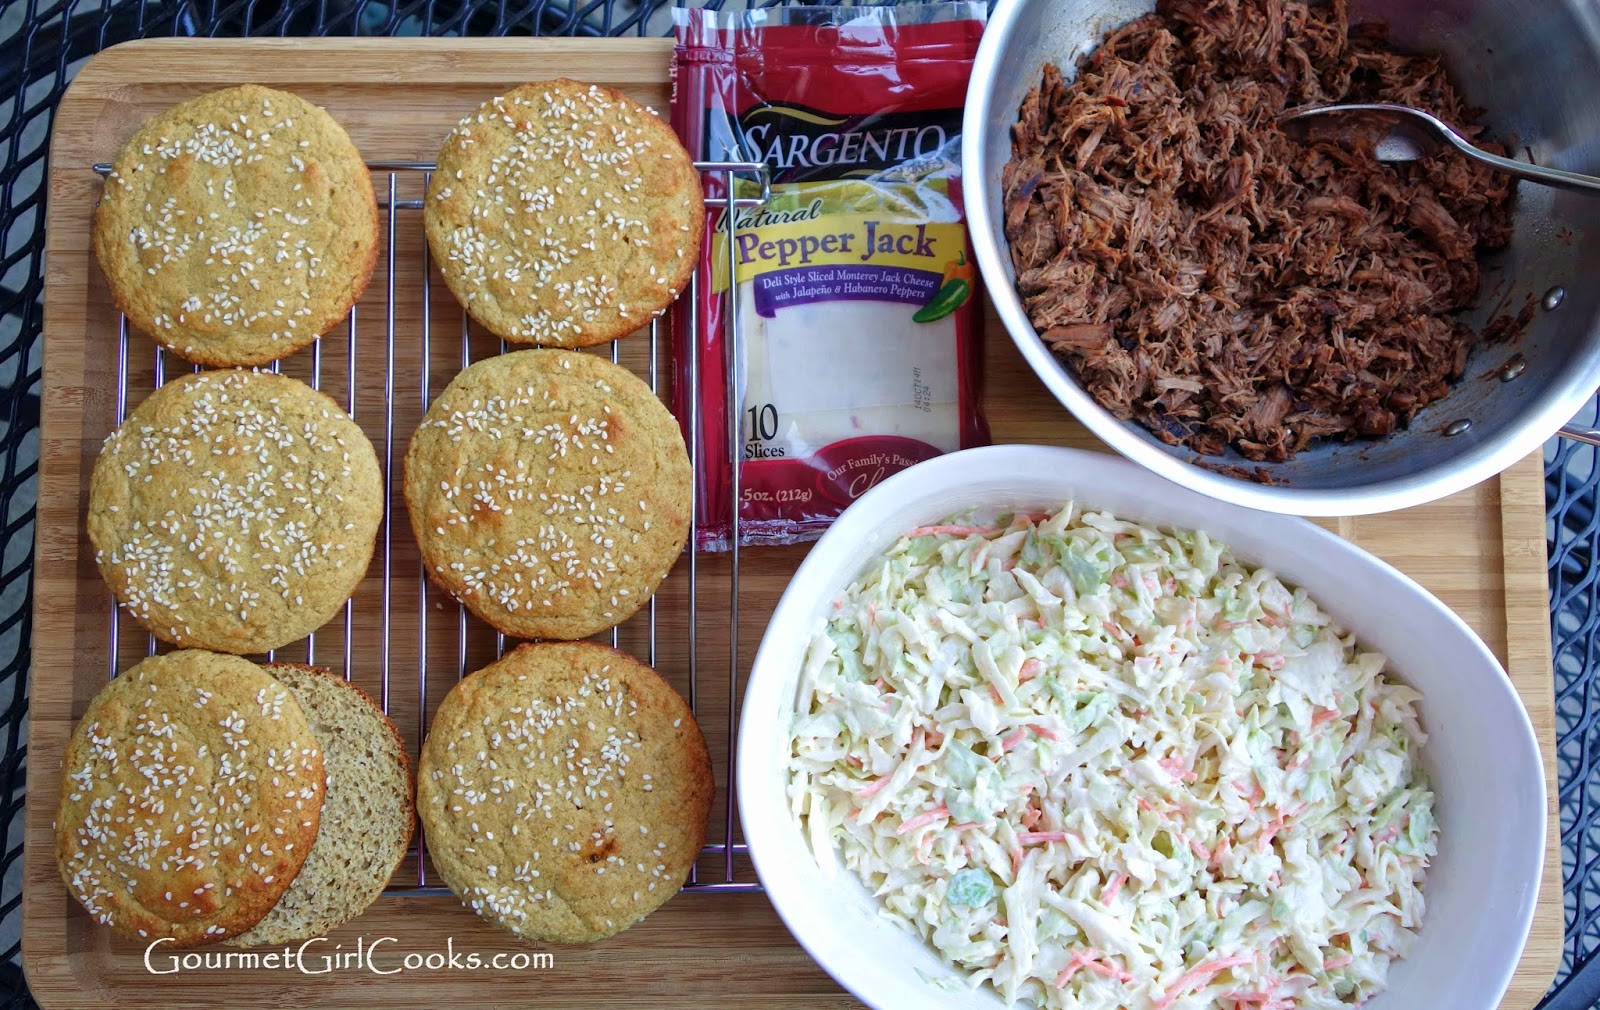
I baked a fresh batch of my grain-free Sesame Seed Sandwich Buns and a batch of my Easy Coleslaw after I got home. To make the sandwiches, I split my sandwich buns in half and piled them high with pulled beef, then topped it with a slice of pepper jack cheese and a big spoonful of coleslaw...and "Voila" I was in "dream sandwich heaven!" I thoroughly enjoyed my own version of Pulled Beef & Slaw Sandwich...and no Firehouse Subs was required! Before I show you MY sandwich...here's a link that will take you to the sandwich that caught my eye with their ads. Here's the link to their sandwich: Firehouse Subs "King Hawaiian Pulled Pork & Slaw Sandwich"
Now, check out MY version below...it's pulled beef piled high on a grain-free Sesame Seed Sandwich Bun topped with pepper jack cheese and my Easy Coleslaw. This is heaven on a bun! Enjoy!
Sunday, July 27, 2014
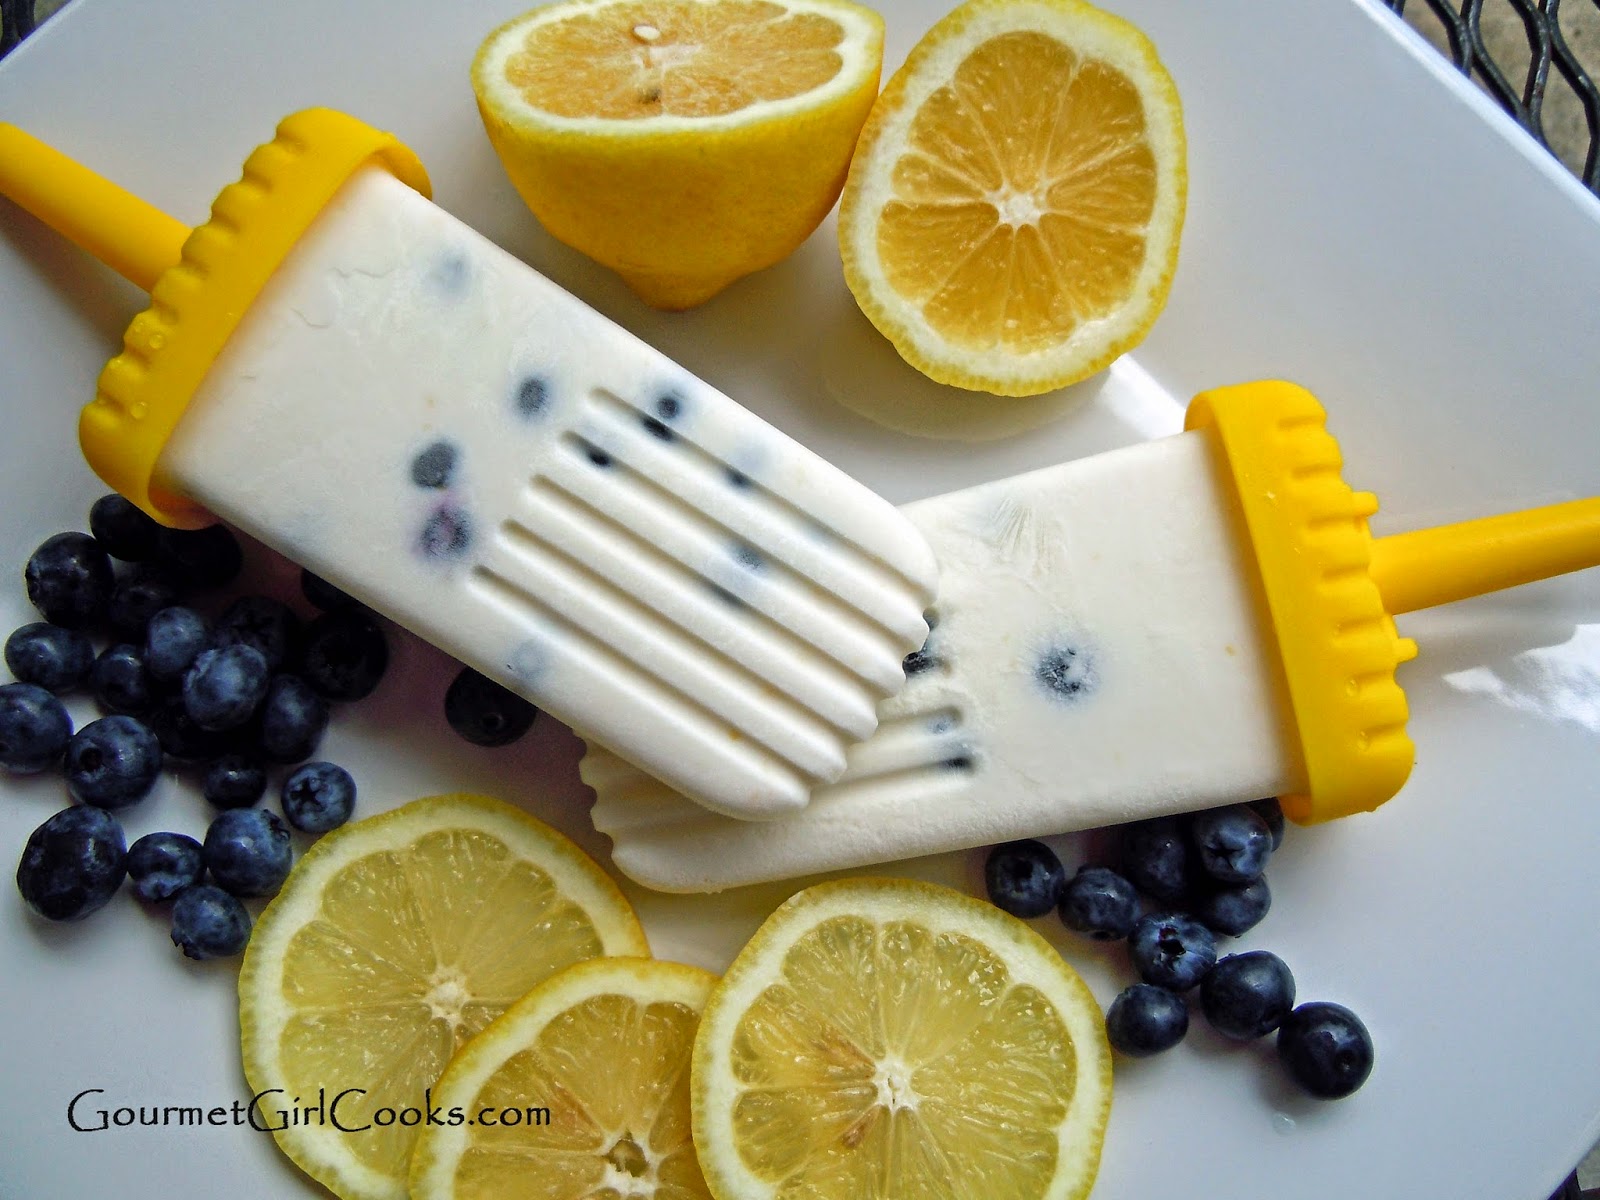
Lemon-Coconut-Blueberry Frozen Greek Yogurt Pops - Sugar Free
This morning our tile installer is here installing the kitchen backsplash tile. So far, it looks great. He has most of the large wall up and then will work on the short wall. This will probably be a 2-day job for him, but he said he "might" be able to complete it today...so we'll see. I am planning to make these frozen yogurt pops this afternoon. I bought the necessary ingredients and plan to make them when he finishes up. These were some of the best ice cream/frozen yogurt pops I had ever had. I'm re-posting the recipe below and some photos for you to see. If you haven't tried these yet, you definitely need to. If you don't have the popsicle molds, you can make them in little Dixie cups. Check out the photos and recipe below. They are e super easy to make. Enjoy!
.JPG) |
| Backsplash in progress...unsealed and not grouted. The color will become richer after sealing |
Saturday, July 26, 2014
Slow Cooker/Crock Pot Boneless Beef Chuck Short Ribs
Today was a busy day. It was bright and sunny but hot. We ran a number of errands and bought the last of our supplies for our tile installer to begin our kitchen backsplash installation early tomorrow morning. He will install the tile and seal it once tomorrow and then return Monday to do the grouting and seal it again. We had a hard time finding enough of our mosaic border but one of my sons was able to find it at a location near where he works across town so he picked it up a few days ago and brought it to us this afternoon. We are nearing the home stretch of the kitchen renovation and I am ready for it to be over. I'll just have a little painting to do after the tile work is done.
Yesterday I made Slow Cooker Boneless Beef Chuck Short Ribs in the crock pot and cooked them overnight the night before. Rather than brown them in a pan on the stove before placing in the crock pot, I grilled them to brown them and give them some flavor. I refrigerated them when I came home for lunch yesterday so I just needed to reheat them for dinner this evening. For our veggie, I made a simple saute of onions, yellow summer squash, and fresh tomatoes on the stove in a large pan. I don't ever add water when I cook squash because I think it makes it squeaky when you chew it. I just saute it in a bit of olive oil and butter. I seasoned it with salt and pepper and then just topped it with shaved Parmesan cheese to melt on top before serving. I will use the leftover ribs to make shredded beef sandwiches with. I snapped a quick photo of my easy peasy dinner below. You can find the recipe here: Slow Cooker Boneless Beef Chuck Ribs. Enjoy!
Thursday, July 24, 2014
Fresh Strawberry Coffee Cake - Moist, Delicious, and "Oh so Strawberry!"
As promised, today I'm sharing a new recipe with you. I am happy to be doing another guest post for Honeyville and sharing my recipe for Fresh Strawberry Coffee Cake with you. If you like strawberries...then you will love this one. It just screams summertime.
I've been working on this recipe over the last couple of weeks to perfect it. It's full of fresh strawberries and absolutely perfect for summertime. This cake is moist, flavorful and "oh so strawberry!" It's packed with strawberries and walnuts. It makes 12 generous servings and each contains approximately 7 net carbs, 3 grams of sugar and 11 grams of protein! Now how does THAT sound for breakfast? If you are one of the many folks that have asked me for breakfast ideas "other than eggs"...this one's for YOU!
That by no means implies that you couldn't eat it as a dessert or snack...or like I am as I type this...for LUNCH! LOL I say this with the utmost honesty and sincerity, Honeyville's blanched almond flour has truly made my grain free lifestyle over these past 2 years so much more enjoyable as well as tasty!
I hope you enjoy this coffee cake as much as I do. The great thing about this cake is that it's wheat free, grain free, gluten free and has no added sugar (thanks to Swerve sweetener). It's a perfect addition to your low carb menu. You can find the recipe here: Fresh Strawberry Coffee Cake. Enjoy!
Wednesday, July 23, 2014
Chicken Enchilada Casserole & New Recipe Premiers Tomorrow
This evening our dinner was quick and simple. I had enough leftover Chicken Enchilada Casserole so I simply just had to reheat it. It is just as good, if not better, the next night. I topped it with some diced grape tomatoes and sliced avocado before serving. I also finished up the new recipe that will be posted tomorrow. This one is a good one and I think you're going to like it. Stay tuned and be sure to check back tomorrow! I snapped a couple photos of this evening's meal to show you just how nicely this casserole reheats a couple days later. Enjoy!
Tuesday, July 22, 2014
Chicken Coleslaw Salad - Quick, Crazy & Good!
This evening I was undecided on what to make for dinner. For lunch, I had leftover Chicken Enchilada Casserole, so I wanted something lighter and simple for dinner. After much hemming and hawing, I decided to make chicken salad sandwiches (on my Sesame Seed Sandwich Buns) and my Easy Coleslaw. As I was mixing up the dressing for the coleslaw, I looked over at the cooked chicken I had just diced up and the bag of coleslaw mix sitting on the counter...I had a flash of "what if"...as in what if I made a combination "Chicken Coleslaw Salad" by mixing them together. So, I tweaked my coleslaw dressing just a little to make it compliment both coleslaw and chicken salad. I added a couple teaspoons of fresh lemon juice for some fresh flavor and a tablespoon or so of capers to add a little salty zing. I mixed the dressing into the diced chicken breast first and then tossed half of a bag of coleslaw mix into the chicken until everything was lightly coated with dressing. Why only half of a bag you wonder? Well...just in case it was horrible, I didn't want to toss out a lot of food or feel obligated to eat a lot of something I didn't care for. I served the Chicken Coleslaw Salad piled on a plate along with some of our tomatoes that I sliced up. It was absolutely delicious! The more bites I took, the more I liked it. Sometimes we need to give in to our "what if" moments. You just never know what good things will come of them. I have enough leftover for my lunch tomorrow, too. Next time I'll make a bigger batch and use the whole bag of coleslaw mix. By now I have either totally grossed you out or you just figure I've lost my mind. There's only one way to find out...make some for yourself. Check out the photos below. Enjoy!
 |
 |
 |
| BOOM! |
Monday, July 21, 2014
Chicken Enchilada Casserole - Grain Free & Gluten Free
This evening I made my White Chicken Enchilada Casserole. I absolutely LOVE this dish. It tastes as good, if not better, than if I had made it the "regular" way. This is a great dish to make if you have leftover cooked chicken. It is also great reheated, too. I'm looking forward to having leftovers for lunch this week! If you wanted to make this on a busy weeknight, you could make the grain-free tortillas ahead of time (which only take a few minutes to make). You could also stuff them with the chicken and cheese and refrigerate them like that and then just make the sauce on the night you wanted to serve them; pour it over the enchiladas and bake. If you want, you can add cooked peppers and onions to them or whatever else you like -- I've done that and they are good that way, too. This evening I used a combination of cheddar and Monterey jack cheese. Also, one more tip...don't be worried if your sauce initially seems too liquidy after taking them out of the oven because it thickens up nicely. Let it sit for just a bit and the sauce thickens up and becomes creamy and delicious. I snapped a few photos for you to see below. If you've been missing Mexican food...tonight is the night that ends...forever. I promise you that you will be in "grain-free Mexican heaven" with these! LOL I've included the recipe below. Enjoy!
White Chicken Enchilada Casserole (Wheat/Grain/Gluten Free)
Ingredients:
8 to 10 6-inch grain free tortillas
2 to 3 cups cooked chicken, shredded or chopped
 |
| Chicken & cheese filling, grain-free tortillas and creamy sauce to top the casserole before baking |
 |
| Rolled and ready |
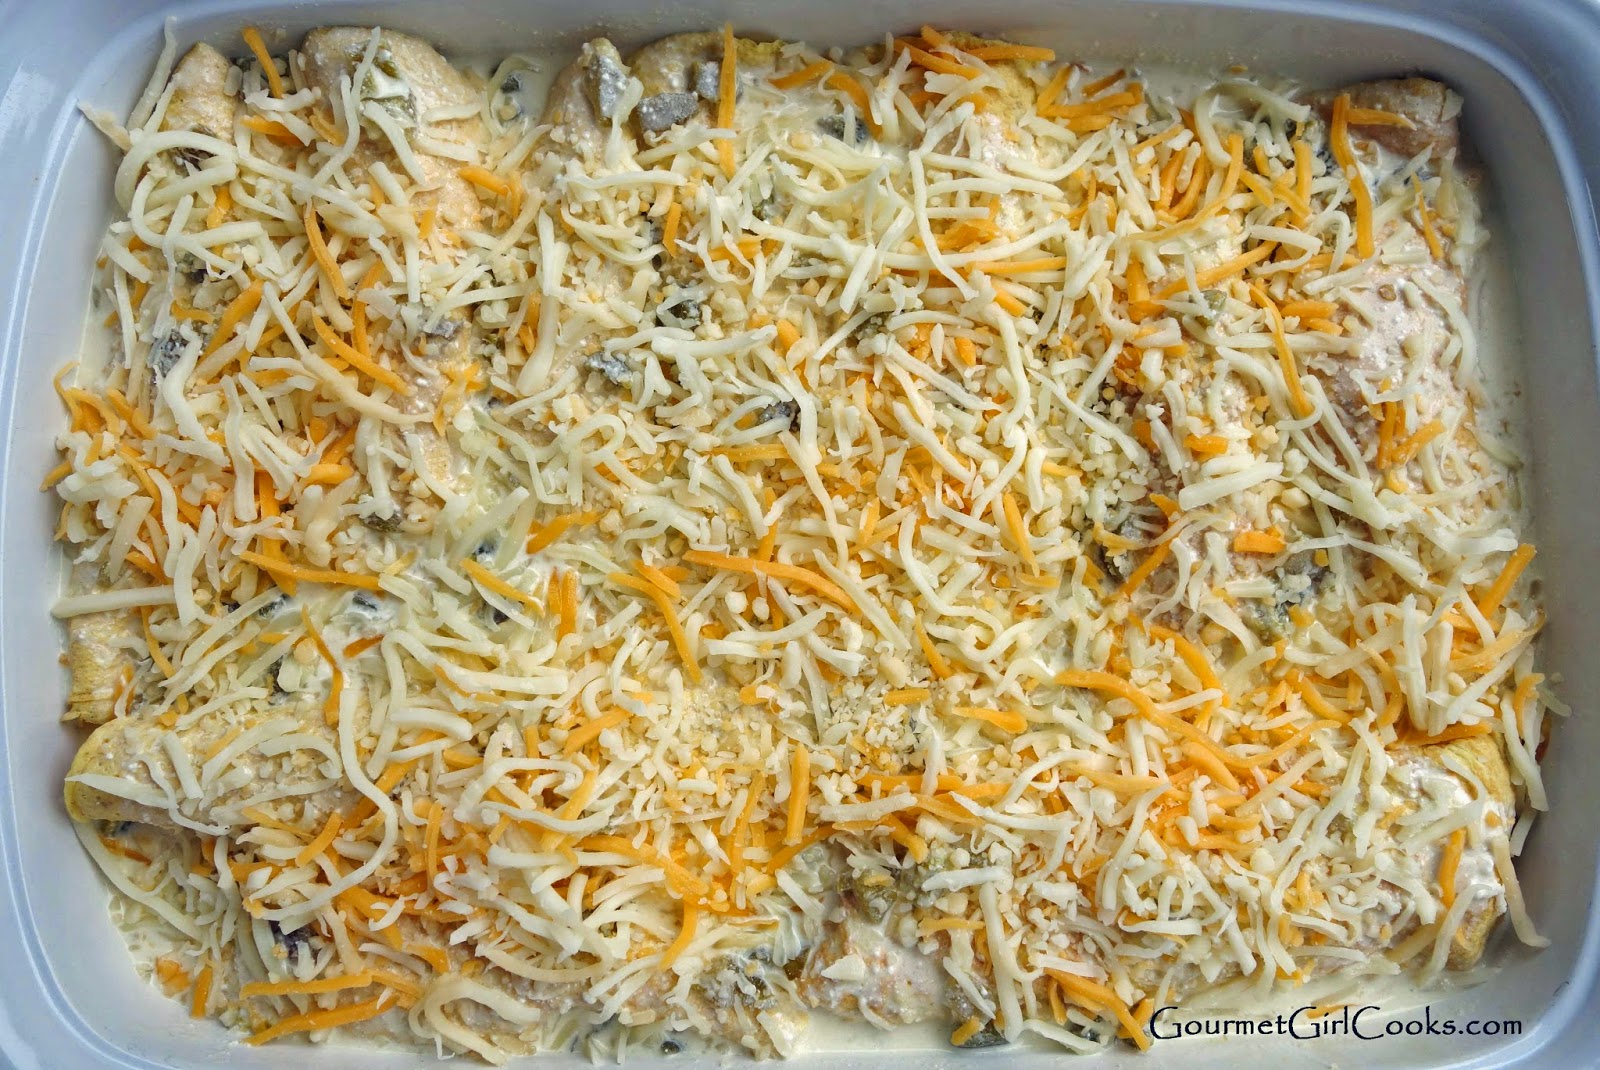 |
| Topped with sauce and final layer of cheese...ready to be baked |
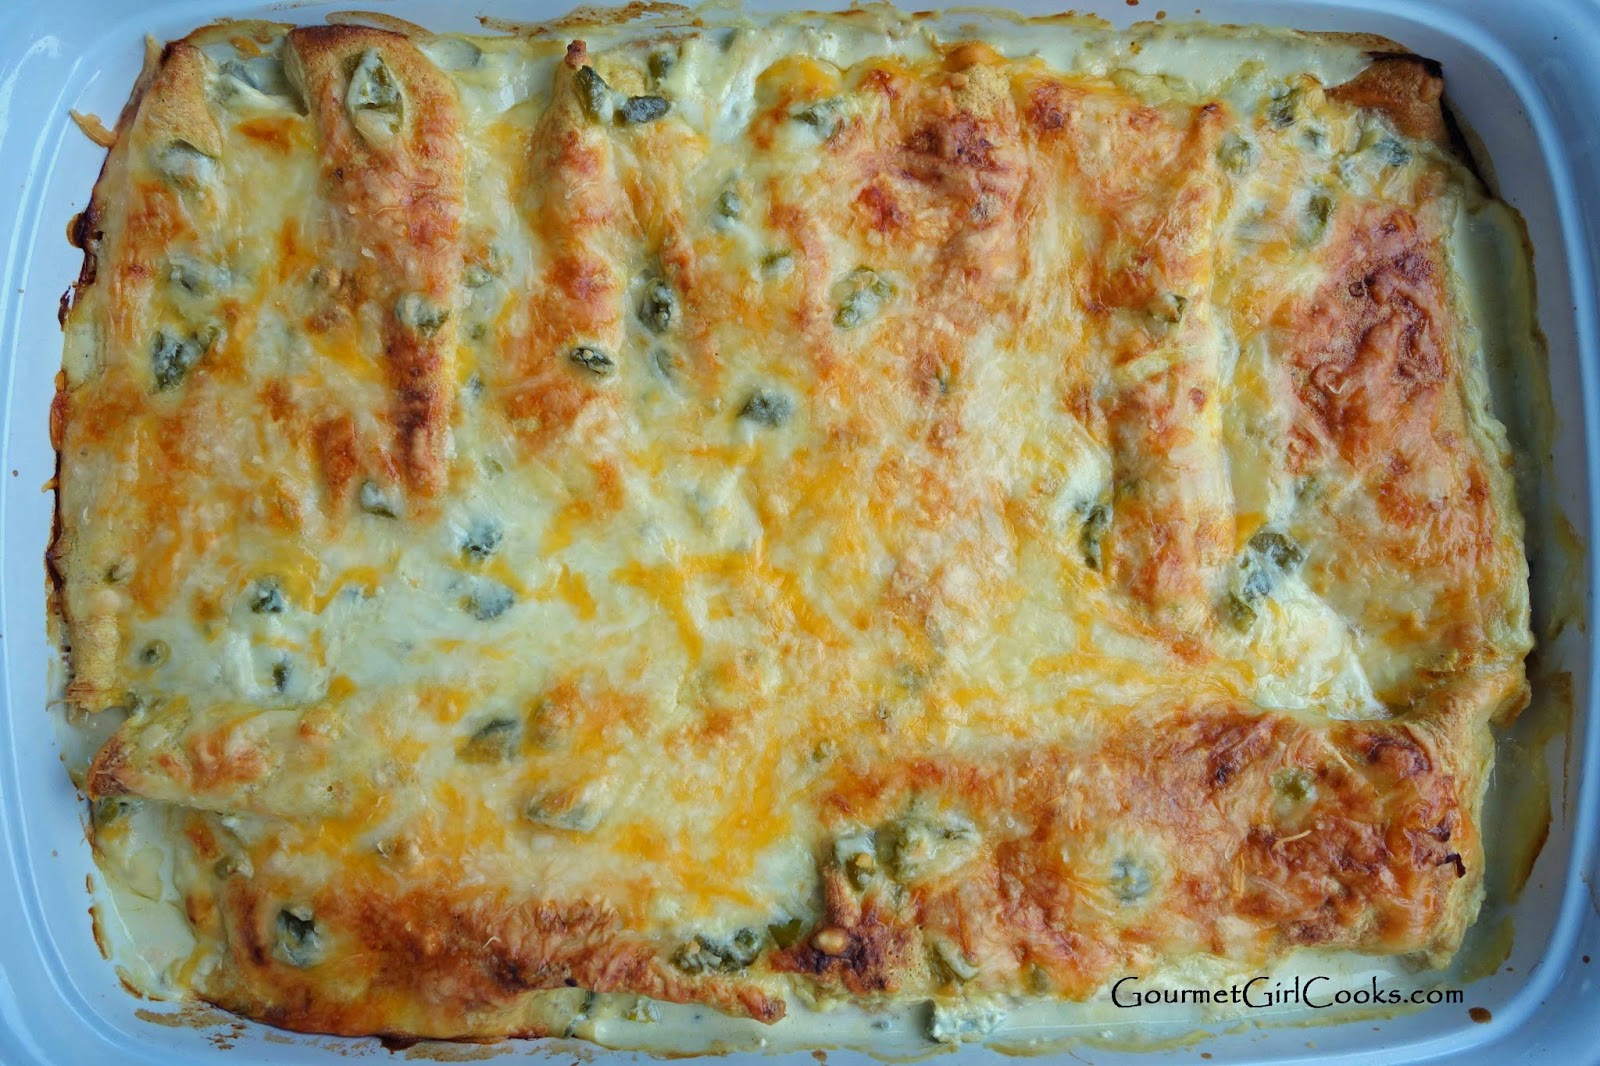 |
| Fresh out of the oven |
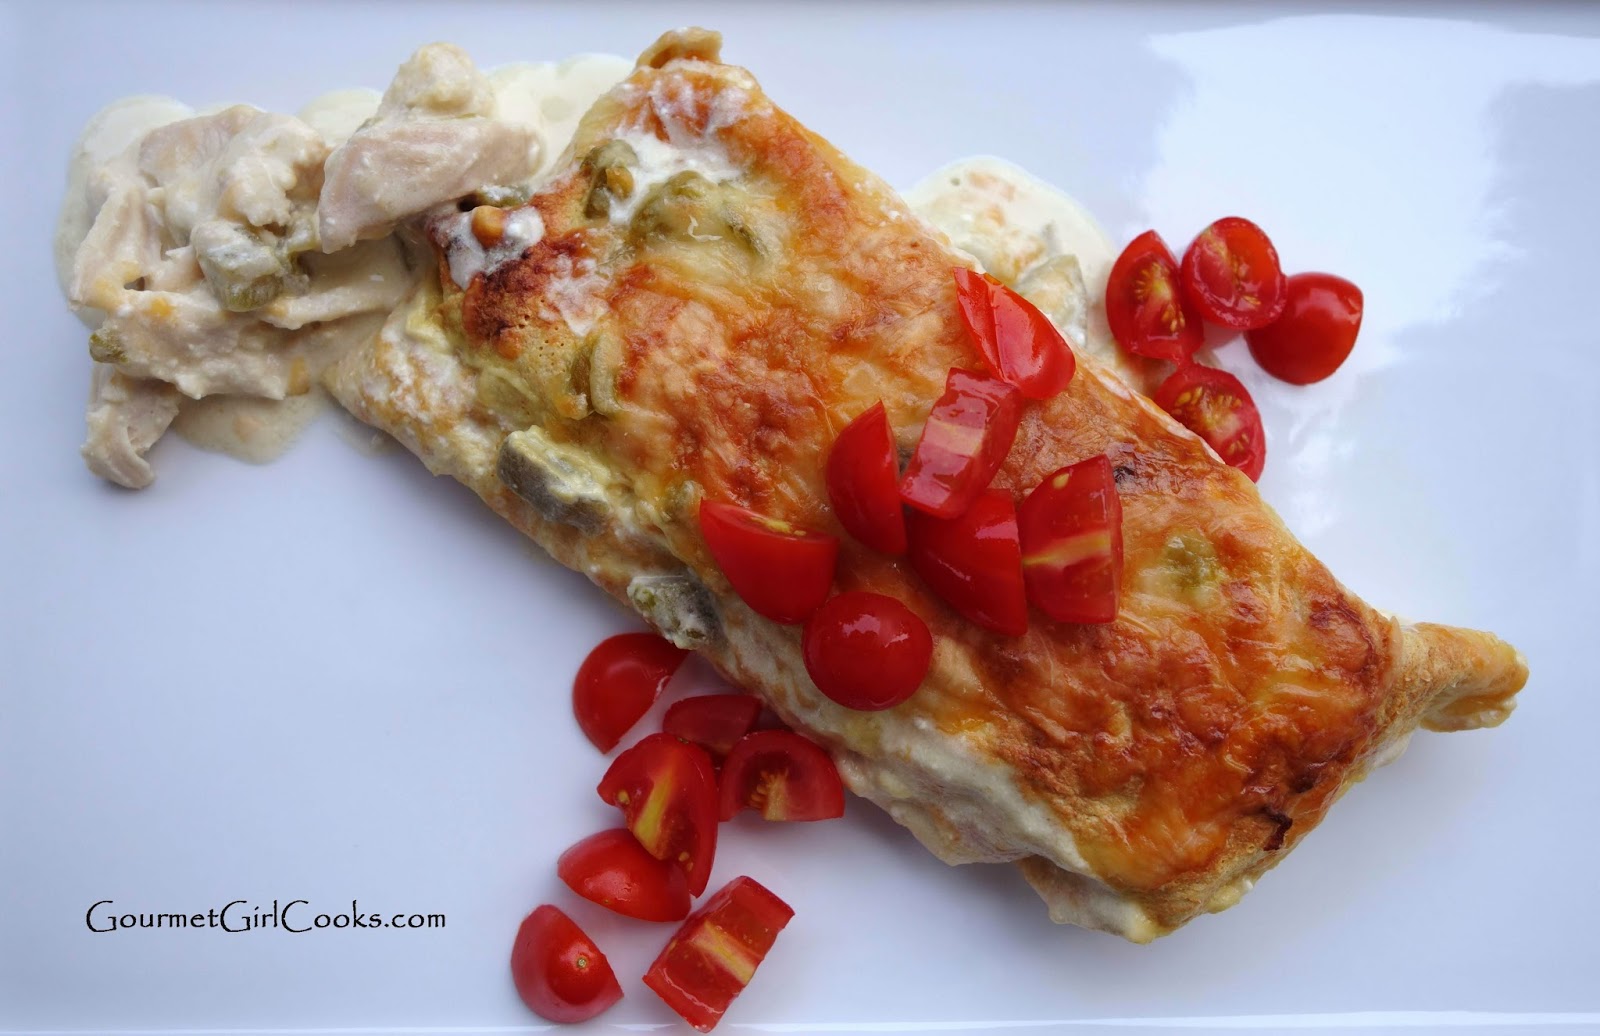 |
| BOOM! |
White Chicken Enchilada Casserole (Wheat/Grain/Gluten Free)
Ingredients:
8 to 10 6-inch grain free tortillas
2 to 3 cups cooked chicken, shredded or chopped
2 cups shredded Monterey Jack cheese (or pepper-jack cheese for added spiciness)
2 tablespoons butter
6 ounces brick style cream cheese
2 cups chicken broth
1 cup sour cream
1 4-ounce can diced green chilies, drained
For the tortillas:
1 cup egg whites or Egg Beaters
3 tablespoons water
1/2 cup blanched almond flour
2 tablespoons plus 2 teaspoons ground golden flax
4 teaspoons finely grated Parmesan
Dash of sea salt
Generous dash of ground chipotle chile (or other seasoning of choice such as smoked paprika, etc.)
Directions:
To make the tortillas:
Whisk all ingredients together in a small bowl to form a smooth, thin batter (makes approximately 1-1/2 cups batter). Lightly spray an 8 or 10-inch non-stick skillet with olive oil spray and heat over medium-high heat. Pour a few tablespoons batter into hot skillet, tilting the pan and using a circular motion to evenly distribute the batter in the bottom to make an approximate 6-inch tortilla. Cook approximately 1 to 2 minutes, until very lightly browned and cooked around edges. Carefully loosen and flip using a rubber spatula; cook for another 1 to 2 minutes. Transfer to a plate and repeat for remaining tortillas (lightly re-spraying pan for each). Add a little additional water if batter needs to be thinned to swirl around the skillet. Makes approximately 8 to 10 6-inch tortillas.
To assemble the casserole:
1. Preheat oven to 350 degrees. Grease a 9 x13" casserole dish
2. Mix shredded chicken and 1 cup cheese in a large bowl. Divide mixture evenly and roll up in tortillas and place seam side down in casserole dish.
3. In a sauce pan, melt butter, stir in cream cheese and cook on low until melted, about 1 to 2 minutes. Stir in broth and simmer over medium heat, whisking until smooth and slightly thickened and bubbly, stirring frequently.
4. Stir in sour cream and green chilies and heat just until hot; do not to boil.
5. Pour sauce over enchiladas and top with remaining shredded cheese.
6. Bake approximately 25 minutes or until bubbly; run under broiler for a few minutes until cheese is light golden brown.Sunday, July 20, 2014
Summer Pasta Ragout & Costco Finds For This Week
Today was a busy day. It was both disappointing and exciting at the same time. We got up early to, once again, clear my kitchen counters and get ready for our tile installer who was scheduled to come and begin work on our kitchen backsplash first thing this morning. As I mentioned before, I had regretfully given up on the mosaic travertine border I had originally selected and had my heart set on and had instead settled for bronze metallic tile inserts on our travertine backsplash tile. When our installer arrived and I laid out what I wanted him to do...he didn't seem to think it was a good idea. He said he would do it but in his professional opinion didn't feel it would look right or that I would be happy with the results. He noticed the piece of travertine border I had sitting on the floor in the kitchen that I had planned to take back and return. He really liked it and thought that would be a much better look. I told him that was what I really wanted but didn't think it would work on my wall area. He showed me what he would do with it and laid it out -- and it is going to work after all! So...our mission tomorrow is to try and find 15 pieces of this travertine border. One of my sons is going to try and find it across town near his work. If he doesn't find it, hubby and I will once AGAIN be driving all over town after work tomorrow trying to find it. So...as disappointing as it was not to get my backsplash started today...in the end, if we can find the border, I will have what I had my heart set on from the beginning. We selected and purchased our wall paint and then ran all our the place doing our other weekly errands which included a trip to Costco.
My sons came for dinner this evening and since we ran around all day, I just kept dinner simple. I made a thick meat sauce using a spicy jarred Arrabbiata sauce that I added to a pound of browned ground round beef, diced yellow squash, and sliced fresh mushrooms. I made zucchini pasta with my Paderno Spiral Vegetable Slicer to serve the thick meaty ragout on. It's quicker to use when I have more than a couple of portions of "pasta" to make. I snapped a quick photo of my "Summer Pasta Ragout" as well as a few of my new Costco finds. I found a 2-pound jar of Ghee (clarified butter) for $10.99; a 2-pound bag of organic chia seeds for $10.59 (on sale); a 2-pound bag of organic pistachios in shell for $13.99 and last but not least...a 3-pound bag of my favorite kind of organic golden ground flax for $4.99 (on sale). The photos are below. Enjoy!
Saturday, July 19, 2014
Saturday Night Pizza - Low Carb & Grain Free
It was a dark and dreary day here today. It rained all night last night and most of the day today. We ran errands most of the day to prepare for our backsplash tile installation that begins tomorrow and finishes up on Monday. I've given up the mosaic tile border I had chosen -- both because it's too wide for our wall area and because we'd have to go to several locations to get enough. Instead, I've chosen to add bronze metallic tile inserts to add architectural detail to the travertine tile. I think it will look good too...but it's hard not to feel a little disappointed because I really loved that mosaic border. We shopped for paint today, too...and I thought it should be fairly simple since I wanted to go with something simple and fairly beige. Do you know how many shades of beige there are to choose from? I am so over making choices at this point...LOL. It's exhausting and I probably hem and haw more than the average person does.
While out running errands today, I picked up two new USA baking pans. I am obsessed with these pans. They are some of the nicest baking pans I have ever used. I bought a USA 14-inch pizza pan and a USA 9" x 13" baking pan. I used both of them this evening. I used the pizza pan to make pizza for dinner and my crust turned out unbelievable with it. It was lighter and flakier because of the corrugated surface of the pan. It allows air underneath and nothing...I mean NOTHING sticks to it. As a matter of fact, you have to be careful that your pizza crust doesn't slide off their pizza pan because it's THAT non-stick. I didn't even have to grease or line the pan when spreading the pizza dough out on it. I used the 9 x 13 pan on a project I'm working on and it worked so nicely that I literally threw out my old 9 x 13 pan. I snapped a few photos of my pizza this evening as well as included the recipe. If you haven't tried this pizza crust before...it's worth trying. Enjoy!
While out running errands today, I picked up two new USA baking pans. I am obsessed with these pans. They are some of the nicest baking pans I have ever used. I bought a USA 14-inch pizza pan and a USA 9" x 13" baking pan. I used both of them this evening. I used the pizza pan to make pizza for dinner and my crust turned out unbelievable with it. It was lighter and flakier because of the corrugated surface of the pan. It allows air underneath and nothing...I mean NOTHING sticks to it. As a matter of fact, you have to be careful that your pizza crust doesn't slide off their pizza pan because it's THAT non-stick. I didn't even have to grease or line the pan when spreading the pizza dough out on it. I used the 9 x 13 pan on a project I'm working on and it worked so nicely that I literally threw out my old 9 x 13 pan. I snapped a few photos of my pizza this evening as well as included the recipe. If you haven't tried this pizza crust before...it's worth trying. Enjoy!
 |
| Pizza crust before baking |
 |
| Crust fresh out of the oven |
 |
| Look how nice the bottom of the crust is...the surface of this pan kept it so nice, light and crisp |
 |
| Topped with pepperoni, onions and red bell pepper...ready to pop back into the oven |
 |
| Fresh out of the oven...topped with fresh basil |
Subscribe to:
Posts (Atom)


